The Raleigh water test for flats
The Raleigh water test for flats is a fascinating test for flats using the flatness of the surface of water as the reference surface. The test is sometimes tricky to perform even by experienced ATMs. That said it is a very practical test for checking flats once you understand its intricacies. I would highly recommend that you try this test first on a small flat (uncoated) before trying a large flat. The test is actually a Fizeau interferometer like page 113 of Texereau’s “How to Make a Telescope”.
Procedure and Tips
To do this test you will need:
- A monochromatic light source such as a neon, mercury vapor, sodium lamp. An unfrosted mercury lamp is great but a energy saver lamp is said to work too.
- A tray to larger than your flat by 2 inches and deep enough to submerge the flat.
- A leveling board ( a triangular board with fine adjustment screws in the corners). Newport fine adjustment actuators are nice, using a lever with coarser threaded screws also works.
- A lens or Fresnel lens as big as the flat under test and not too fast an f/no. A telescope as a collimator has also been used. Required
- A holder for the lens to hold it above the water and flat but not resting it on the tray.
- An enclosure to keep out drafts is nice but not a necessity.
- A laser pointer.
- An ordinary magnifier.
Test set up
Set the leveling board on a solid surface or concrete floor. The test is sensitive to vibrations and other people walking about in your home can cause vibrations. Avoid air currents too.
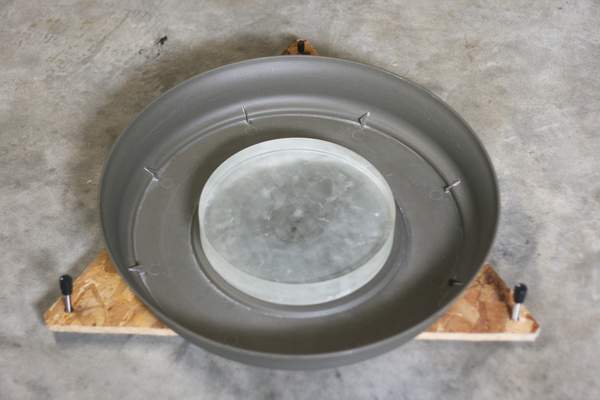
Place the flat to be tested in the middle of the tray on the leveling board and then cover the flat with clean water. Use as little water as possible to just cover the mirror.
Alignment
The flat under water is not very reflective compared to air but this isn’t a problem. Use the laser pointer (held stationary on a camera tripod) to bounce off the water and flat as perpendicular to the water as possible. (An auto-collimating telescope is even better here but ATMs aren’t likely to have one but could make one). If the back of the flat isn’t polished then there will be only two reflections. If not then you’ll have to determine which reflection is the front side. (try a piece of black tape on the back) A piece of black plastic on the bottom of the tray helps with visibility if the tray isn’t dark on the inside. Look at the two laser reflections with as far a throw as possible, most likely the ceiling. With the leveling screws bring the two reflections together as accurately as possible. The water over the flat is probably fairly thick now over the flat. Take a pen and jiggle the water making small waves. These will travel over the flat with no trouble when the water level is thick. With a syringe or turkey baster remove the water slowly and check the waves as you go. At some point the water level begins to be thin enough to affect the waves. The laser will also bounce around when you create waves and you want the waves to stabilize in about 10-20 seconds. If the water is too thin then the wait for the water to get steady again can be very long, if too thick then the fringes are less likely to be seen.

At this point you might set the collimating lens above the flat to view it through the lens. If you see fringes great, if not don’t panic! Look closely at the flat with the magnifying glass (down close) illuminated by your monochromatic source. If the laser alignment is not perfect then the fringes are very closely spaced and may not be resolved from the distance of the lens focal length but can be seen close up with the magnifier. Once you can see the fringes then you can reduce the number of fringes with the
leveling screws, then put the collimating lens on again and hopefully the fringes will be seen.
ICM107B
Some physics facts
When testing flats in water the water thickness is perhaps a half millimeter to a millimeter (I’m guessing) whereas when testing flats by contact in air the thickness of the air gap is probably on the order of microns. This is a hundredfold difference between testing in air versus in water! Not only that but the wavelength of light in water is shorter by 1/refractive index. When testing in air you can view the fringes with a light box (without a collimator) from a comfortable distance without introducing any cosine error. This is because the short air gap doesn’t amount to too many wavelengths of light and the cosine error is negligible. With water you multiply this times 100 X 1.333 and now the cosine error is huge. Because of this reason a collimating lens is absolutely necessary, (you can see the fringes without a collimator but you will not interpret them correctly). Cosine error can also be important when photographing the fringes. The lens aperture of a camera subtends some viewing angle that can be subject to cosine error. I once tried to photograph the fringes with a fast camera lens because of the low light. The fringes were very visible by eye but not on the photograph, the reason being the fringe phase was changing across the lens aperture canceling out their visibility. This is why you want to use a long focal length collimating lens and keep the water thickness as thin as possible.
One more thing to remember, the test is more sensitive in water. 1 fringe in air equals ½ a wavelength, in water 1 fringe equals 3/8 of a wavelength!
Testing aluminized mirrors
An aluminized mirror has a difference of 88% versus about 2% for water thus giving really poor contrast in the fringes and impossible to see. However you can improve this by adding an absorbing dye to the water or better yet (less messy) use a dilute suspension of cerium oxide polish. The best way I found to do this is to first get the flat close but not fully aligned. Then pour the cerium mixture over you flat and it will settle out on the mirror and act as a filter. Compare the brightness of the reflection off the water to the reflection from the mirror (laser dots) and when they are the same brightness you will have the best contrast of the fringes. You can add more cerium mixture until they are equal.
Newport actuators make a good leveling board.
I use a plastic flower pot tray but metal would be better if you can find it.
My Fresnel lens was cut from the center of a projection TV screen. Mount it above but not resting on the water tray.
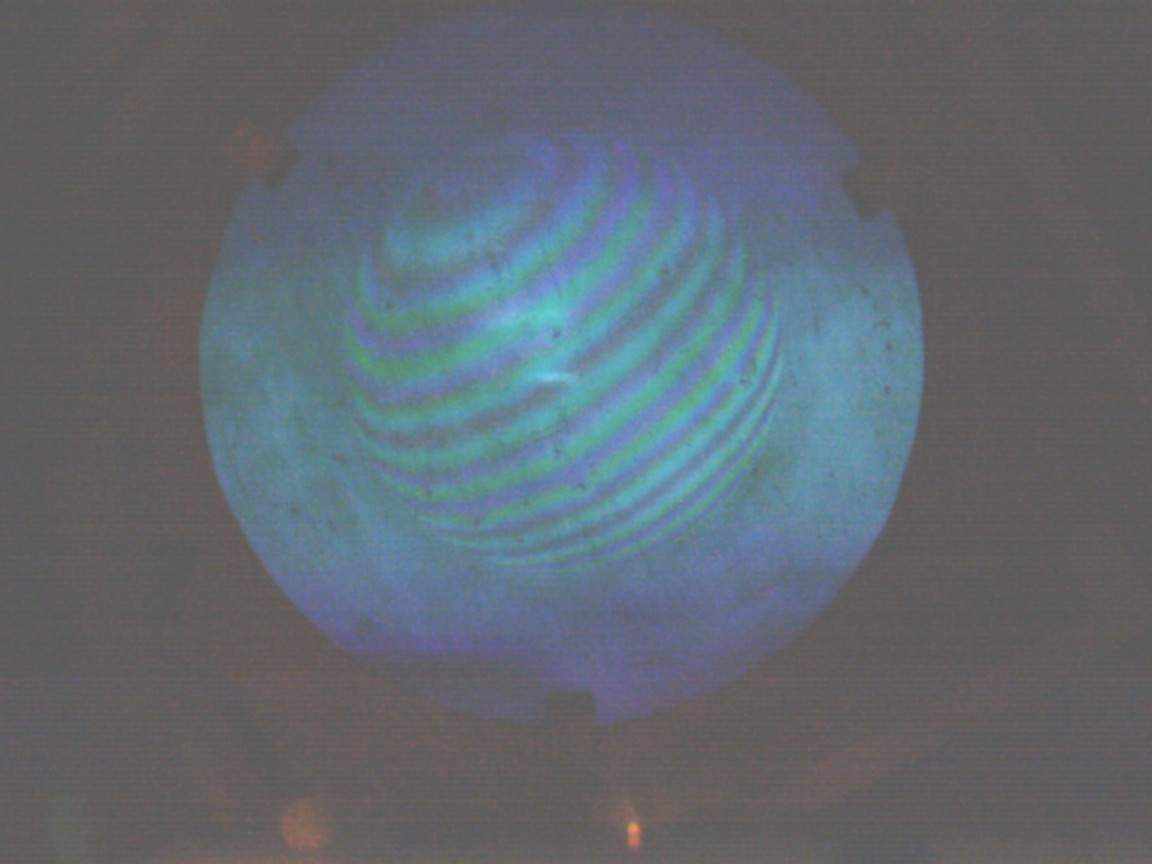
The Raleigh water test an 8 inch flat using an unfiltered mercury lamp. The thinnest water level was near the top left so this part was convex. It’s really interesting to see how parts change with temperature
Fresnel lenses: I used the Fresnel from an old projection TV screen but they are getting hard to find and expensive so here is a 10 inch one from China:
References
YouTube Videos: https://www.youtube.com/watch?v=a8oPg074bGo https://www.youtube.com/watch?v=TIAqTV2noJk
Ingalls, Albert Ed, “Optical Flats” Sec. F.4, Amateur Telescope Making vol.2 Willmann-Bell Inc.
Jones, Ed. “The Raleigh Water Test” Sky & Telescope Magazine July 1990 pg. 89
Parker, Richard “A Flat Tester Right Under Your Nose”, The Best of the Amateur Telescope Making Journal, Willmann-Bell Inc.
